Thursday, December 27, 2018

16th birthday cake for young ladies


Bake 3 yellow cakes and freeze overnight.
In the morning remove from freezer and ice immediately. 
Put a generous portion of frosting between each layer. 
After you've stacked all the layers take the blade of your icing knife and go around the edge of the cake to fill in the gaps and leave the edges of the cake naked. It works best do do this while the cake is still frozen to avoid too many crumbs coming off and marring the naked cake look. Also if you have a very crumbly cake to begin with it works nicely to rub off any excess crumbs from the edge of the cakes before putting the cake together. 

For the flowers purchase roses of your choice and a few greens of your choice. I gleaned greens from my garden to make several different shades of green in the display. Arrange flowers just before serving because they don't hold up for very many hours. 

This cake made my 16 yr old daughter very happy! 

16th birthday cake for young men


This cake was made by Wilma Luna - visit her facebook page at Cakes by Wilma. 
Our son loved his cake! Black tire and tread were made with fondant. 
Keys and key strap were also made with fondant. 
License plate was made with poster board material and drawn by hand! 


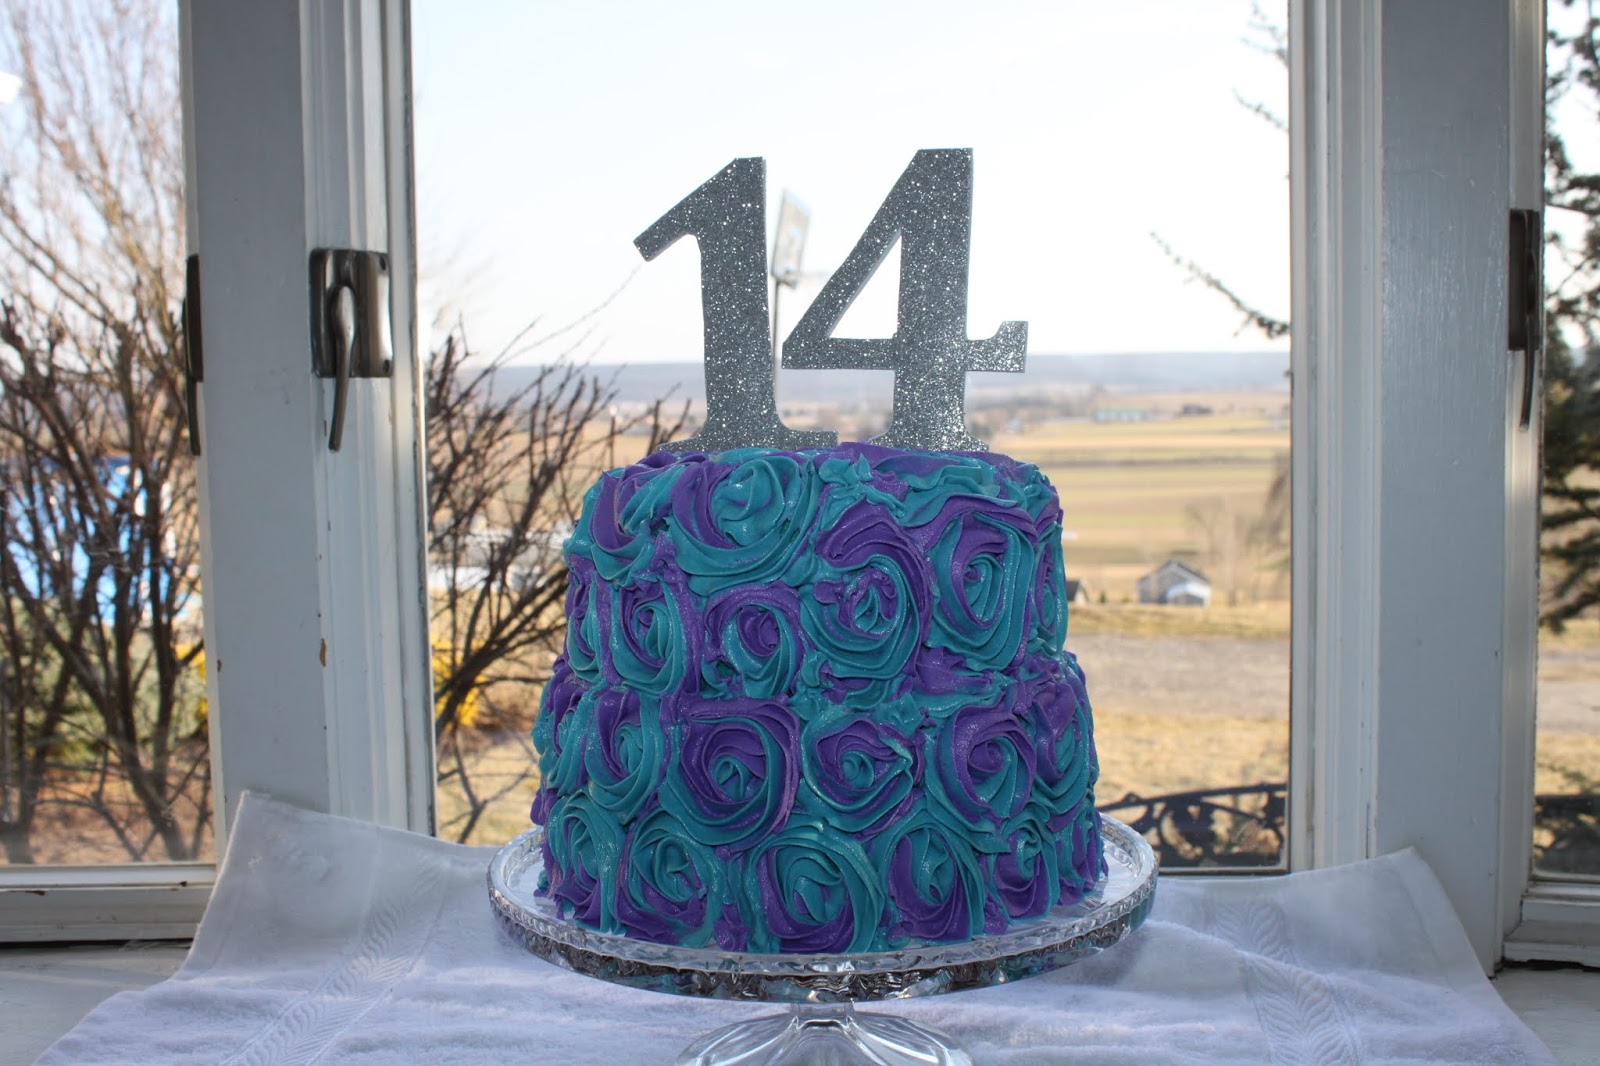
Girls 14th birthday cake ideas


Bake 3 round chocolate cakes and freeze them overnight.
In the morning stack on top of each other with layers of icing in between each layer. 
Apply crumb layer of butter cream frosting. 
Purchase the large rose tip. 
Purchase disposable plastic icing bags. Fill one bag with blue and the other bag with purple. 
Slip both bags of icing down into the 1 main decorating bag. Screw the big rose tip on and squeeze. Out comes 2 colors simultaneously. 
Purchase glitter foam for the 14. Print the number you want on printer paper and cut it out. Trace it onto the glitter foam and cut it out. 
Hot clue kabob skewers onto the back of the number and insert into cake. 
Add pearls to the center of each rose. 
This made a very happy 14 year old girl! :) 

Boys soccer cake


2 9x13 chocolate cakes cut in half and stacked on top of each other making a 4 layer square cake.
Butter cream frosting dyed yellow, blue and green. 
Use grass tip for making the grass look on top of the cake. 
Purchase a small rubber soccer ball for the decoration on top. 
Invite a few friends, have a pool party and enjoy cake and ice cream.
This made a very happy 12 year old boy! :) 

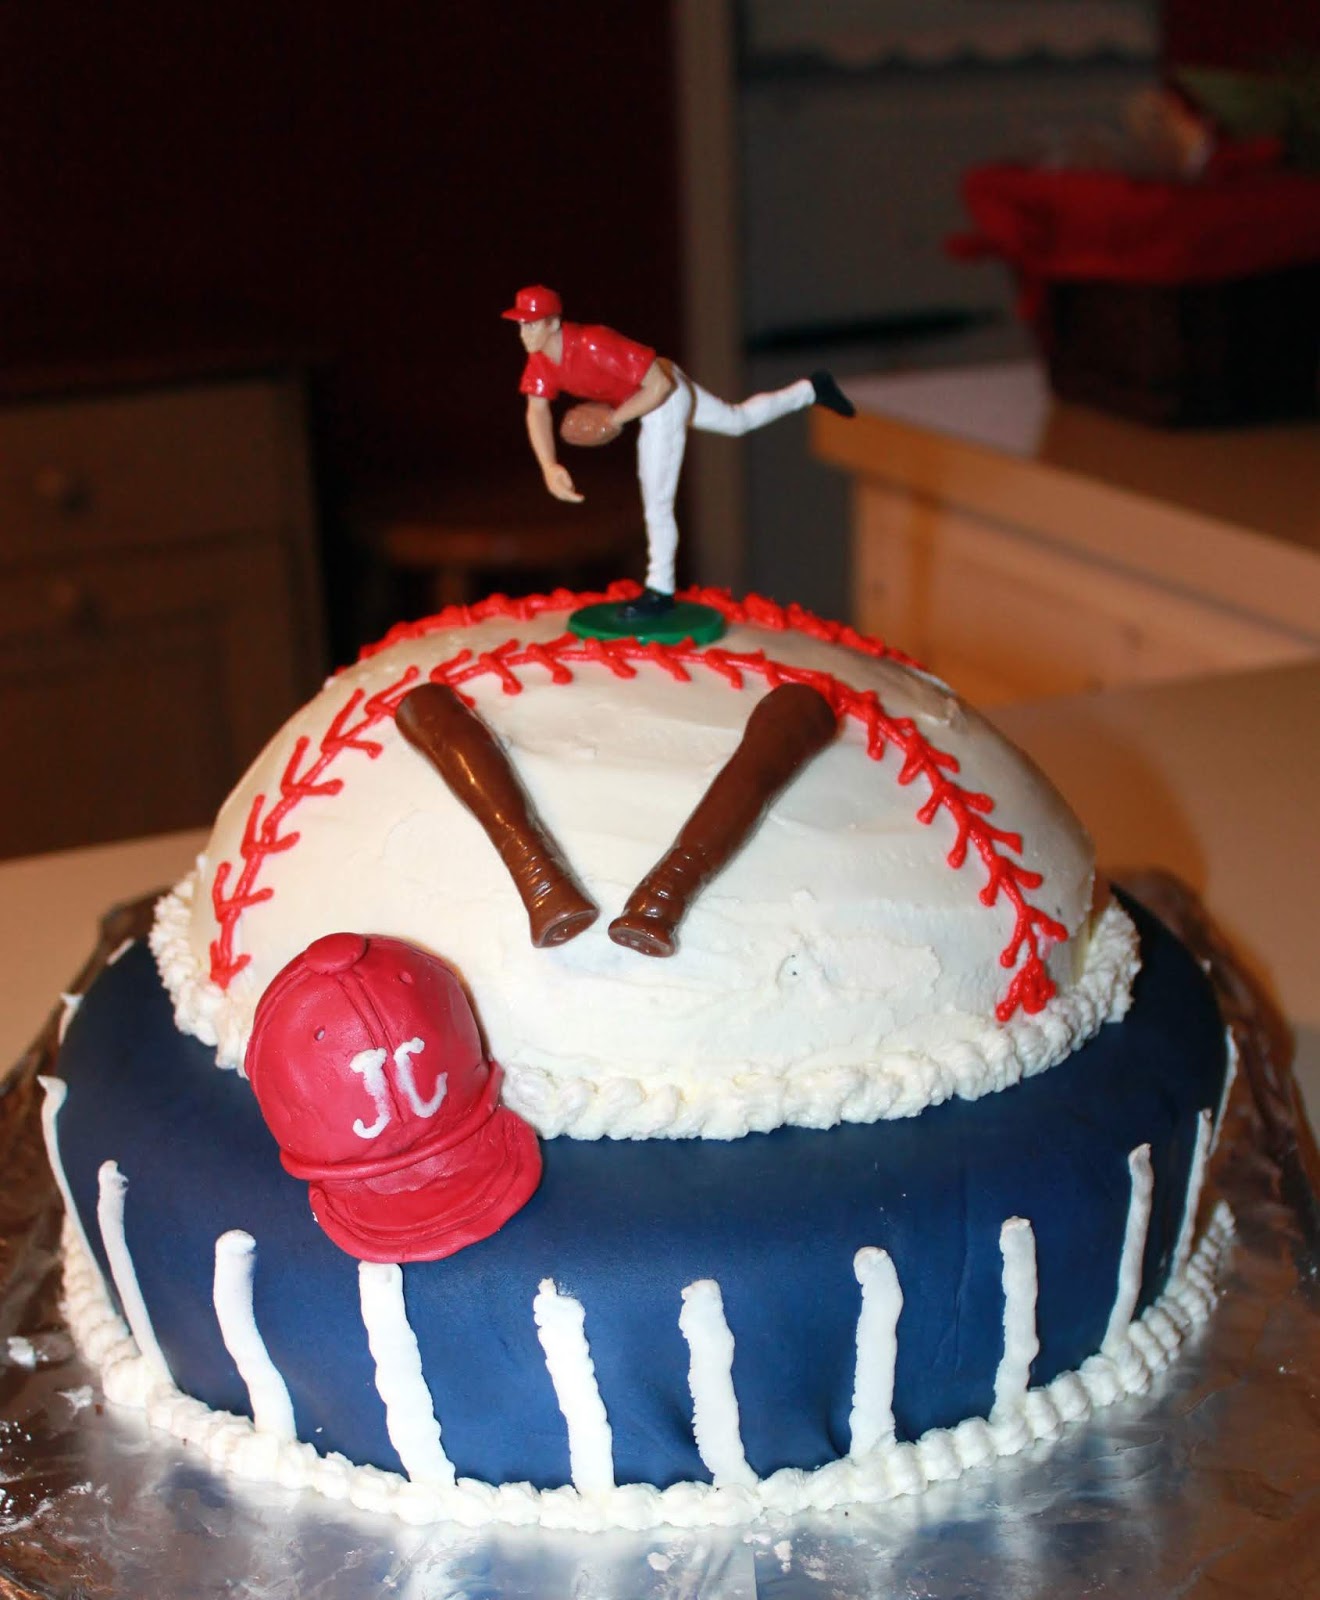
Boys Baseball Cake


Such a fun cake to make!
Round chocolate cake
White fondant with blue dye in it to make the navy color.
Bowl shaped cake on top.
White fondant on top for baseball.
Tootsie rolls softened in the microwave to make the baseball bats. 
White fondant dyed red to make the baseball cap.
Butter cream frosting dyed red to make the strings on the baseball. 
White butter cream frosting for the rest of the decor. 
All of this equaled a very happy 13 yr old boy! :) 

Birthday Cake for Teen Girls


This is a triple layer chocolate cake. 
Bake the cakes and freeze them overnight. 
Pull them from the freezer and decorate immediately with butter cream frosting. 
Use the large rose tip for to make the roses. 
Fun and easy cake! 

Friday, February 22, 2013


Sausage Tortellini Soup


 I was SO NOT in the mood to cook supper last night. . . . I messed around doing other things trying to avoid the inevitable. Then I saw the packs of tortellini that I bought at Aldi's and decided to start with those.

I made this for supper last night and my husband said that I MUST write down the recipe. Then he said, "you ought to put it on your blog". We loved it enough that I decided to do just that. Ravi took 4th helpings! Most everyone else took 2nd's or 3rds. The scales showed it this morning. LOL

Here is what I started with - in a very unmotivated way I took 2 packs of tortellini.


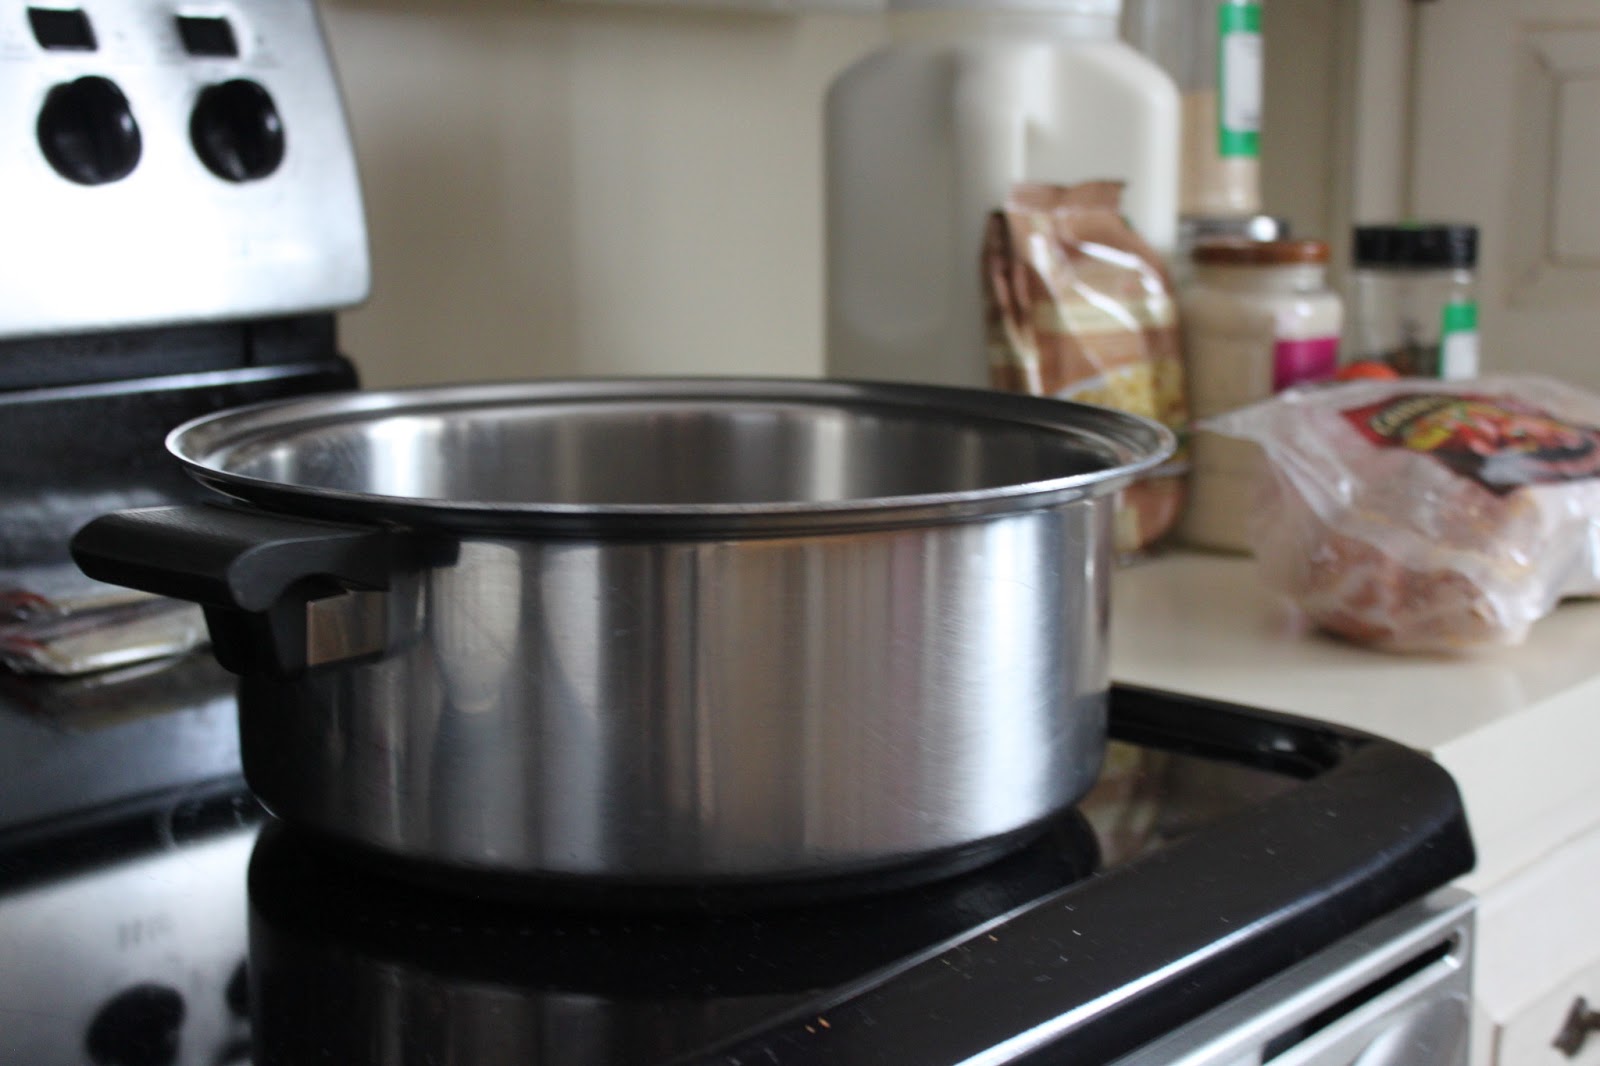
 I put about 2 quarts of water in this kettle. Add about 1 Tablespoon of salt to that water.
By the way I am a kinesthetic learner. I learn as I go and I love
to just try all different sorts of things (without a recipe). 


You bring the water to a boil and then add 2 bags of that tortellini --I got mine from Aldi's. Let it simmer for 10-15 min. In the mean time look desperately online for a recipe for something to make with tortellini.
Ah ha! Soup!
But I don't feel like cooking chicken. . . But ya know
sausage would be just as good.


Once the tortellini is soft I decided to dump in a jar of alfredo sauce that I had picked up at Aldi yesterday. So I dumped it into the water and tortellini. I put some milk in the jar and put the lid on and shake it to get all the extras out. While dumping that milk in
I thought. Milk? Yeah, Milk! That would make this soup
taste good. Not so much water based -- more creamy.
So take the now empty alfredo sauce jar &  add 3-4 TBS of flour toit. Then fill it 3/4th of the way full of milk. Put the lid on and shake.
Add this to the kettle. Add another 2 cups of milk to the kettle.


 Then I decided to chop 2 small onions (dice them fine) and add them to the soup. Cause we love onions!
Then I cut up 1 and 1/2 links of the sausage and added that.

Hmmm . . . one recipe said to add Parmesan cheese. That sounds good. So I dumped in some Parmesan cheese.
 Another recipe said to add garlic. So I sprinkled in some garlic powder.
But it needs more color.
One recipe said to add oregano. I didn't know if I wanted that flavor, but I wanted the color. So I added a dump of dried parsley.
That looked nice! But still not enough color.
So I chopped one large tomato and threw that in.
There! I like that!

I let it simmer for just a few minutes to soften the tomatoes and slightly cook the onions.But then it seems too thick.
So I add more milk - probably another quart.
And then I decide it probably needs more Parmesan cheese since I added more milk. So I dump some more cheese in.


Here is a pic of all the ingredients. You can see the
big jug is milk. We get it from a farm.
I am allergic to bought milk.


 Here is a pic of the completed product. It is rich
and creamy! Enjoy


Here is the recipe as near as I can figure:

2 -- 8 oz packs of mushroom tortellini (from Aldi)
1 TBS salt
2 quarts of water

Cook this for 10-15 min.
Add:
1 & 1/2 links of spicy sausage chopped
2 small onions diced finely
1-15 oz jar of roasted garlic Alfredo sauce (from Aldi)
1 tsp garlic powder
1 TBS dried parsely
2-3 quarts of milk
3-4 TBS flour (mixed with milk)
3/4th - 1 cup Parmesan cheese.

Add and simmer for about 5 min.
Then chop a large fresh tomato and add.
Let simmer for 5-10 more min.
Enjoy!


Saturday, November 10, 2012

Awesome Italian Fettuccine

1 1/2 -2 lbs boneless skinless chicken breasts
1/4 cup oil
2 TBS minced dried garlic
1 onion med, diced
1 1/2 cup broccoli diced
1 TBS Italian Seasoning (dried flakes)
2 TBS Oregano (dried flakes)
1 tsp garlic powder
 1 tsp salt
2 tomatoes medium, diced
1/2 cup water

Noodles
3 quart boiling water
1, 12oz box thin spaghetti or fettuccine noodles
1 tsp salt
2 TBS oil

Sauce
1 can of evaporated milk
3 egg yolks, large
1 -1 1/2 cups of shredded Parmesan cheese

Bring water to a boil and add noodles and salt and oil. Simmer till noodles are soft. While that is cooking fry up the chicken and seasoning mixture above. Fry for 10-15 min. Drain the noodles. Then toss chicken mixture into the noodles. Whip together the egg yolks and the milk and pour into the chicken and noodles. Sprinkle with Parmesan cheese and toss. Keep it warm till you serve. Delicious! Serves 2 adults and 4 kids with big appetites. :)

Thursday, October 11, 2012

 Here is my coffee filter Peony Tutorial! I think they are fun and easy! My 10 yr old daughter is thrilled with them!


STEP 1
Fill a bowl with water and set it in your sink. Pour a whole bunch of red food coloring into it. Make it a rich dark red. 


STEP 2
Get your coffee filters ready. 
You'll need 5 filters cut down to 3inches 
And 5 filters at 3 & 1/4th inches


Trim about an inch off of the edge of the coffee filters.


Step 3
Soak the filters 2 at a time in the red water. Just leave them in for 30 seconds to a minute.


STEP 4
Then place them on paper towels to dry. Again you can stack them 2 at a time. And you can do layers. A paper towel, 2 filter, a paper towel, 2 filters etc.


Just let them on the paper towels till most of the extra water is soaked up. Them move them to a glass surface (or something that won't stain - unless you don't mind bleaching your counters after you are done) to dry out the rest of the way.


 Once they are dry they will look like this.


 Then you begin the folding process.


 Fold in half


  Then in half again


Then in half again


Then in half again . ..  so a total of 4 times.


Next you will trim the top edges into a nice rounded form.


Then trim just a tiny bit of tip off


Then snip at the top edge that you rounded previously. Snip in V shaped patterns making it look ragged. If you would prefer a smooth look you can skip this step.


This is what it will look like once you are done with the trimming and you lay it out flat.


Next you will take a piece of floral wire and cut it about 11 inches long. Then bend a little hook at the end. You will also want some floral tape. Or you can also use regular scotch tape. 


Slide the hooked end of the floral wire up through the center of the filter.


Squirt a small dot of Wood Glue onto the end of the wire. 


Then take the filter and fold it around the glue dot. Twist and fold and make it all mushed together at the glue dot. 


Next slide the next filter on over top of the first one. Do not quite and go do something else and hope to come back to it. The glue needs to be wet as you work. 


Continue to add layers


See it's beginning to take shape! This is exciting!! 


About half way through I used scotch tape and secured everything. 


Then I continued adding layers. 


I ended by securing it with floral tape. 


A close up. 


 Here is the finished product!


I put them in a  cake stand on my daughters dresser. 


Aren't they just charmingly elegant!


You can also use them in tin. I put them in this tin tub, but I didn't think it looked quite as good in her room so they went back into the cake stand. But I still like both looks. 


And since it was so easy to do the pink ones I decided that the white ones would be even easier. So I did several white ones to mix with the pink. They have such a refreshing pristine look!


 It's that simple! Go and have fun!
Here is what you will need:
1. Sharp Scissors
2. Coffee filters
3. Red dye
4. Floral wire
5. Floral tape/Scotch tape
6. Wood glue
7. About 30 min of your time.